Printers have made the job of the masses rather easy. Instead of standing in lines to get your documents printed from shops, you can just invest in some good printers to do the work simply being at home.
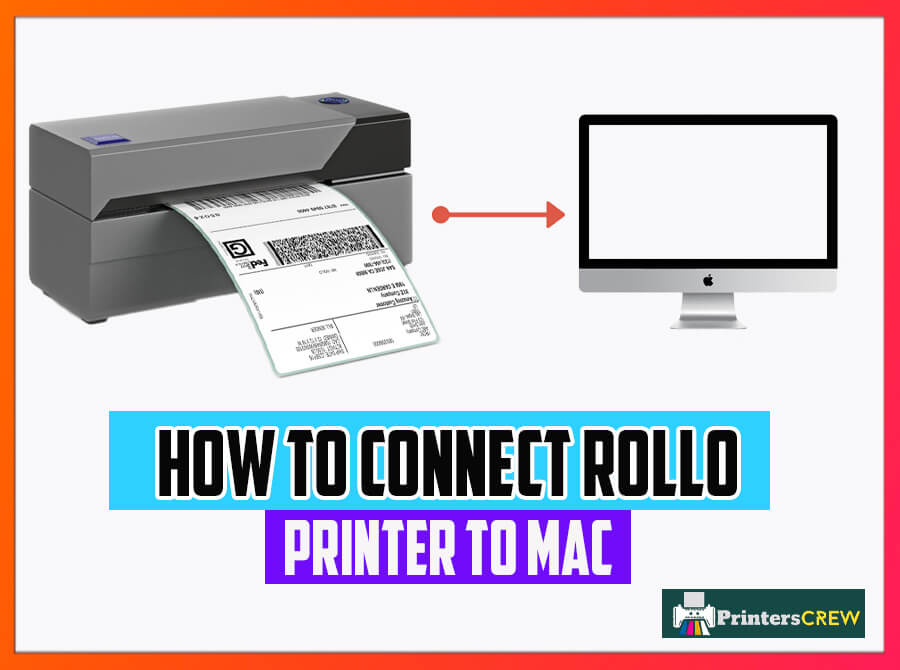
Printer ranges in shapes and sizes as well as pricing. There are different printers available in the market, for instance, inkjet printers, laser printers, thermal printers, 3D printers, etc. In this article, we will talk about thermal printers, particularly ROLLO THERMAL PRINTER, and how to connect your Rollo printer to your Mac.

All you need to do is to download and install the printer driver from Rolloprinter.com. Go to printers and scanners in your system preference and add your rollo printer in the list. Keep reading to find out how you can connect your Rollo printer with different devices:
What is a rollo thermal printer?
Rollo Thermal Printers are the talk of the town lately; due to their popularity, many printer enthusiasts are turning towards Rollo printer machines. Rollo printers are a great option if you want to do label printing. It uses thermal printing technology and is reliable and fast.
Thermal printing is the procedure of utilising heat from the head of the printer to a particle heat thermal paper or labels to create images or pictures. Through this technique, the image you print as your label comes out neat and clear, and the image is smear-proof that will not smudge.
The Rollo printer even functions with any direct thermal label. The advanced thermal direct technology does not require any inkjet or toner cartridges for printing images or documents. So you don’t have to worry about changing cartridges every now and then. It is a high-speed printer that clocks at 150 mm/s.
Rollo printer works for various operating systems like Mac and Windows. Connecting it to any of your computers or MacBook is fairly easy. With this printer, you can efficiently print with the applications that allow printing.
How to connect a Rollo printer with a Mac (Step-by-Step-Guide)
Rollo support requires IOS 10.9 and onwards to install on your Mac. If your software is not updated to 10.9 or onwards, then follow the instructions below to connect your Rollo printer to your Mac.
- Go to Rolloprinter.com, download and install the driver for your Mac.
- Once downloaded, click on the file, then again click on the pkg file for the completion of installation.
- Now go to settings and select printers and scanners.
- Click on the + icon.
- Select Rollo thermal printer, and from the drop-down menu, select software.
- Search for Rollo printer in the search bar and click OK.
- Once you select the printer, at the bottom right of the window, click on Add.
- When your printer is connected to the system, you will see a green light next to your Rollo Thermal Printer, which signifies that your printer is all set to use.
Is there any specific software that rollo printers use?
There indeed is software that rollo printers use called Label LIVE. It is the sole printing software and it works for both Mac and Windows. Label printing has become easy and flexible with Rollo printers regardless of the model and operating system.
How to download Rollo Printer on your IPAD?
You can easily download and install Rollo printer on your Ipad by following the steps below:
- Go to settings on your Ipad and select Devices.
- From there, select Printers and Scanners.
- Look for Add printers and scanners option; once you find it click Add a printer or scanner.
- Select Rollo printer and click Add device.
Resetting Rollo Printer
There is a button on your Rollo printer with the ‘r’ press it and hold the button until you hear two beeps for printing a test page. Now press the Wi-Fi LED button 10 times rapidly to reset the factory settings.
When your printer is offline (Mac)
Sometimes you might face a situation when your printer shows offline on your Mac. To fix it, read the instructions below:
- Click on the Apple menu and select system preferences.
- From system preferences, select printers and scanners.
- Once you are in the printers list, right-click anywhere on the window and from the menu select reset printing system.
- To confirm the resetting, click on Reset.
Your printer will reset and will start showing online again.
Conclusion:
Printers are a must for every computer user. Whether it is for the purpose of document printing, printing images, or label printing, printing makes our jobs rather manageable. Investing in a good printer that goes a long way is always a good idea.
Rollo printer is one such printer if you are looking to buy one. It is easy to install on both Mac and Windows and does not require the typical changing of inkjet or toner cartridges. It’s a thermal technology printer that never runs out of ink.
In this article, we have provided you with a step-by-step guide on connecting Rollo printers with mac. The procedure is very straightforward; you just have to download and install the Rollo printer driver and have to register the printer in the system by following the instructions above.
Frequently Asked Questions
Is a Rollo printer compatible with Mac?
Rollo printers work with different operating systems, and Mac is one of them. Besides Mac, you can connect it with Windows, Android, Chromebook, etc.
Do Rollo printers require toner or inkjet for printing?
Rollo printers use advanced direct thermal technology for printing which does not require toner cartridges or inkjets to print.
What is thermal printing technology?
Thermal printing technology allows you to print images on thermal paper with the help of heat. Heat is involved and regulated by the printhead. The images printed through thermal technology are smudge-proof and relatively clean than any other printer.


